
Why boom stiffness is a procurement decision
On almost every multirotor, the arms and booms are the last structural element to get engineering attention and the first to cause a flight fault. They are also the element most often bought as stock material, by diameter, from a catalogue, with no stiffness requirement attached. That is a mismatch: the boom sets the aircraft's structural bandwidth, its vibration signature and its payload pointing accuracy, and all three of those are determined by numbers that appear on a purchase order.
The airframe materials guide covers which material family to choose; this guide covers how to specify the tube once carbon fiber is the answer.
Two construction families: pultruded and roll-wrapped
Almost every carbon fiber tube sold into the UAV market is one of two things, and the choice between them drives the whole specification. Understanding the difference early saves the common failure of ordering a tube by outer diameter alone and discovering the stiffness was never in the diameter.
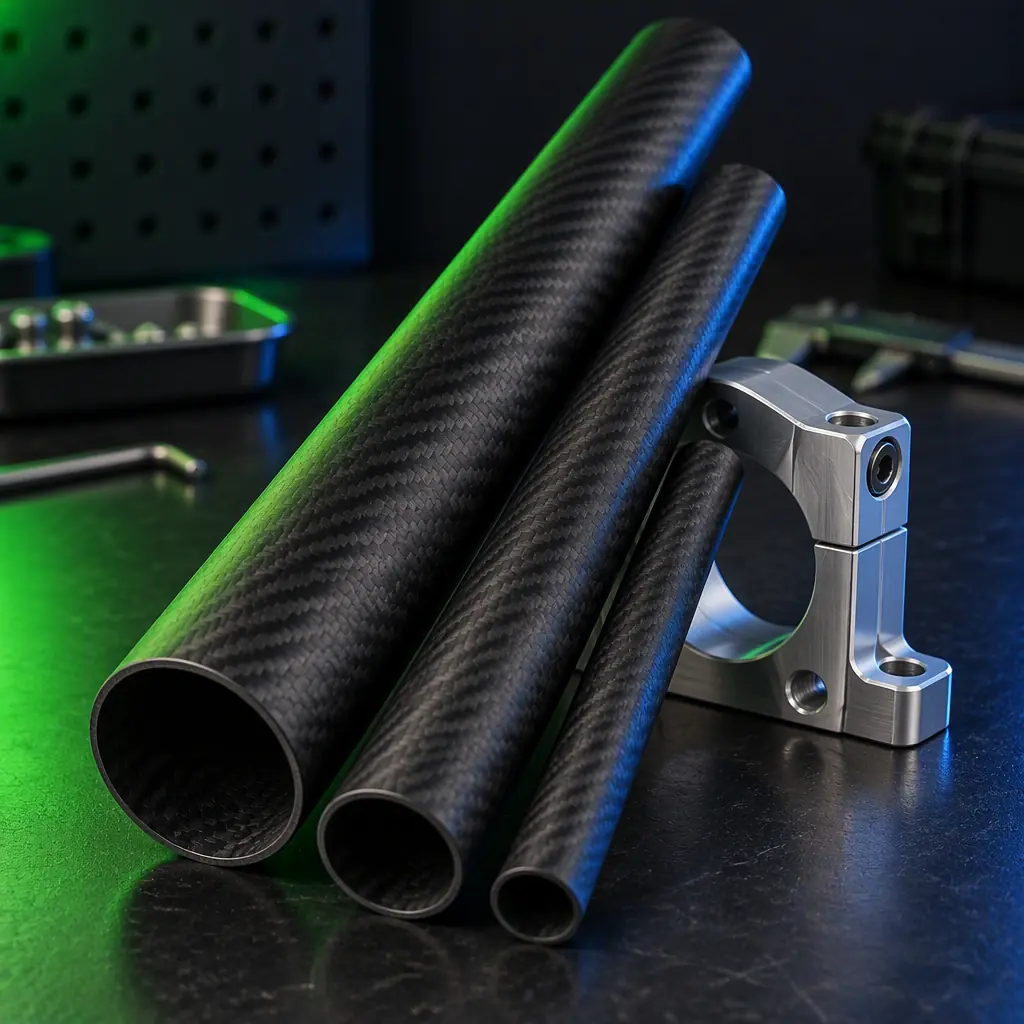
Pultruded tubes. Continuous fibre tows are pulled through a die with the fibre running axially, then cured. The result is a tube with very high axial stiffness and strength at the lowest cost per metre, which is why it dominates arms and booms on 5- to 25-inch-class multirotors. The trade-off is anisotropy: pultruded tube is stiff along its length and comparatively weak in torsion and hoop (crush) loading, because there are few off-axis fibres. Pultruded stock comes in fractional-inch and metric sizes, typically 8 mm to 50 mm outside diameter, with wall thicknesses from 0.5 mm to 3 mm, and because it is die-drawn the wall is uniform to a few hundredths of a millimetre and the finish is a smooth matte black with visible axial fibre lines.
Roll-wrapped tubes. Prepreg or resin-impregnated fabric is wrapped around a mandrel in plies at controlled angles, then vacuum-bagged and oven- or autoclave-cured. Because the fibre orientation is a design variable per ply, a roll-wrapped tube can be built with a 0-degree layer for bending stiffness, a 45-degree layer for torsion and crush, and a 90-degree hoop layer to resist clamp loads. Roll-wrapped tube is the correct choice when a boom carries torsional load, when a clamp will crush a pultruded tube, or when the tube is also a stressed member of a wing spar. It costs two to four times pultruded per metre and needs tooling for a custom layup, but for anything above roughly a 15 kg take-off mass the anisotropy of pultruded tube usually becomes the limiting factor.
A practical decision rule used across the industry: below about 5 kg take-off mass, pultruded tube is almost always sufficient; between 5 and 25 kg the choice depends on whether torsion or clamp loads dominate; above 25 kg, design a roll-wrapped layup and treat the tube as an engineered part, not stock material. The airframe structural design guide covers where the load paths run once the tube is in the frame.
Sizing by stiffness, not by wall thickness
The most common mistake in boom procurement is specifying a wall thickness. Wall thickness is an output, not an input: it falls out of the stiffness the aircraft actually needs. The governing quantity for a cantilevered boom is bending stiffness, the product of the material's elastic modulus and the tube's second moment of area, and that second moment of area scales with the fourth power of diameter and only linearly with wall thickness. Doubling wall thickness doubles stiffness; increasing diameter by 26 percent does the same thing. This single relationship explains why long-endurance airframes run large-diameter thin-wall booms rather than small thick ones.
For a round tube, the second moment of area is approximately I = pi x D cubed x t / 8 for thin walls, where D is the mean diameter and t the wall. Take a 20 mm outside diameter, 1 mm wall pultruded tube with a typical axial modulus of 100 GPa. Its second moment of area is about 785 mm^4 and its bending stiffness about 78.5 N.m squared. Move to a 25 mm outside diameter, 1 mm wall tube and the second moment of area rises to about 1,530 mm^4, nearly doubling the stiffness at the same wall thickness and a weight increase of only 25 percent. Move instead to a 20 mm tube with a 2 mm wall and stiffness also doubles, but the mass rises 100 percent. Diameter is the cheaper lever every time.
The target that matters in flight is not a stiffness number, it is a frequency. A boom must be stiff enough that its first bending mode sits well clear of the rotor and control-loop frequency band. As a working rule, keep the first cantilever bending mode of a loaded boom at least three times the highest blade-pass frequency, which on a 600 mm boom with a 1 kg tip mass works out to a first mode above roughly 60 Hz. Below that margin the boom acts as a resonant amplifier for motor vibration and gyroscopic precession, and the flight controller fights an oscillation it cannot tune out. Specifying the mode target, not the wall, is what lets a supplier choose the cheapest tube that works.
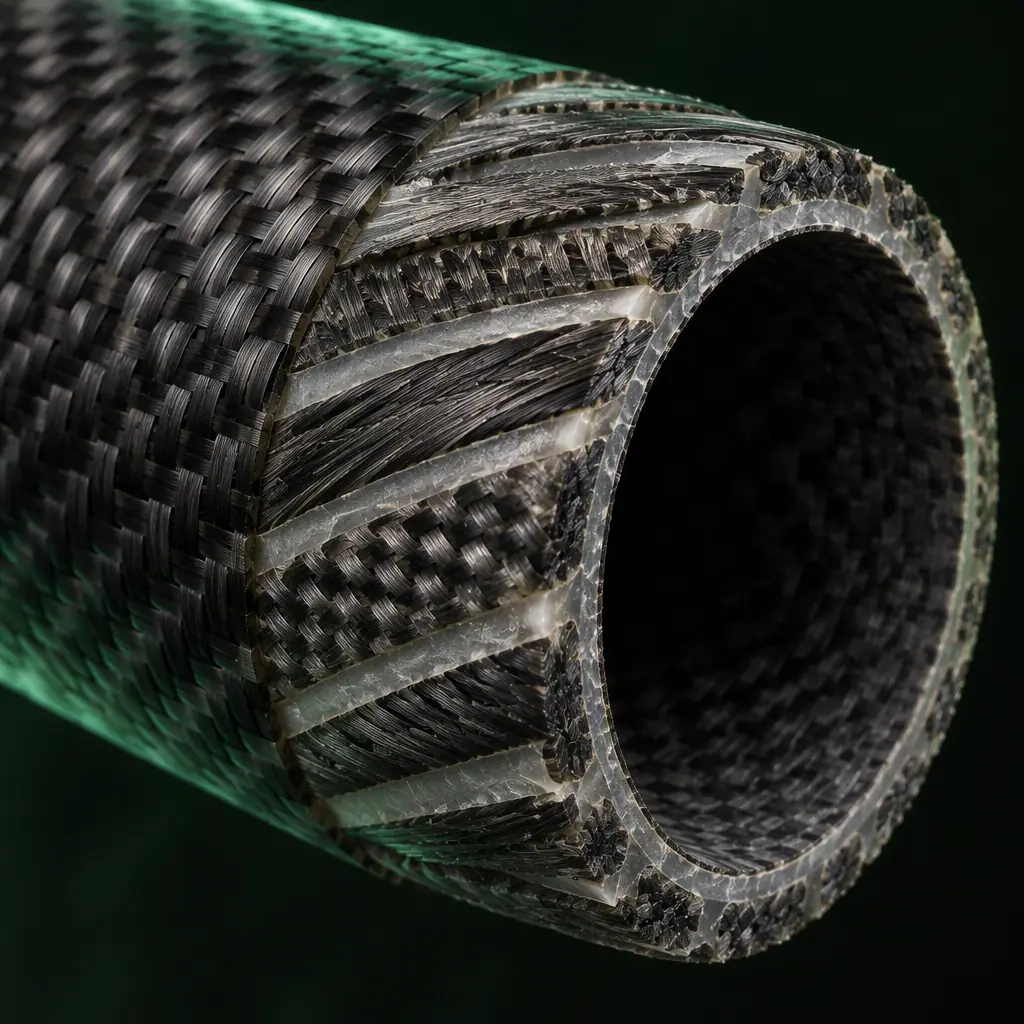 Roll-wrapped ply stack
Fibre orientation and the crush problem at clamps
If pultruded tube fails in service, it almost never snaps in bending. It crushes, ovalises or splits at the point where a clamp bolts it to the frame. Axial fibre carries no hoop load, so a clamp that is tightened to hold the boom against thrust also compresses the tube wall with nothing resisting it, and the tube deforms into an oval. Once ovalised, its second moment of area drops and its stiffness collapses locally, which is how a boom that tested stiff on the bench fails in flight.
The fixes are unglamorous and effective. Use a clamp that spreads load over at least 1.5 tube diameters of length rather than a narrow clip. Specify a wall thick enough that hoop stress at the clamp stays below roughly a quarter of the transverse compressive strength; on 20 mm pultruded tube with 1 mm wall this in practice means clamping over 25 to 30 mm of length with a saddle-style clamp, not a cable tie or a single bolt ear. Where a roll-wrapped tube is used, insist on at least two hoop plies in the clamp region so the wall can take the bolt preload without ovalising. And never drill a pultruded boom on its neutral axis for cable routing without reinforcing the hole: a bare hole through axial-fibre tube is a stress concentration with no hoop fibre to arrest the split.
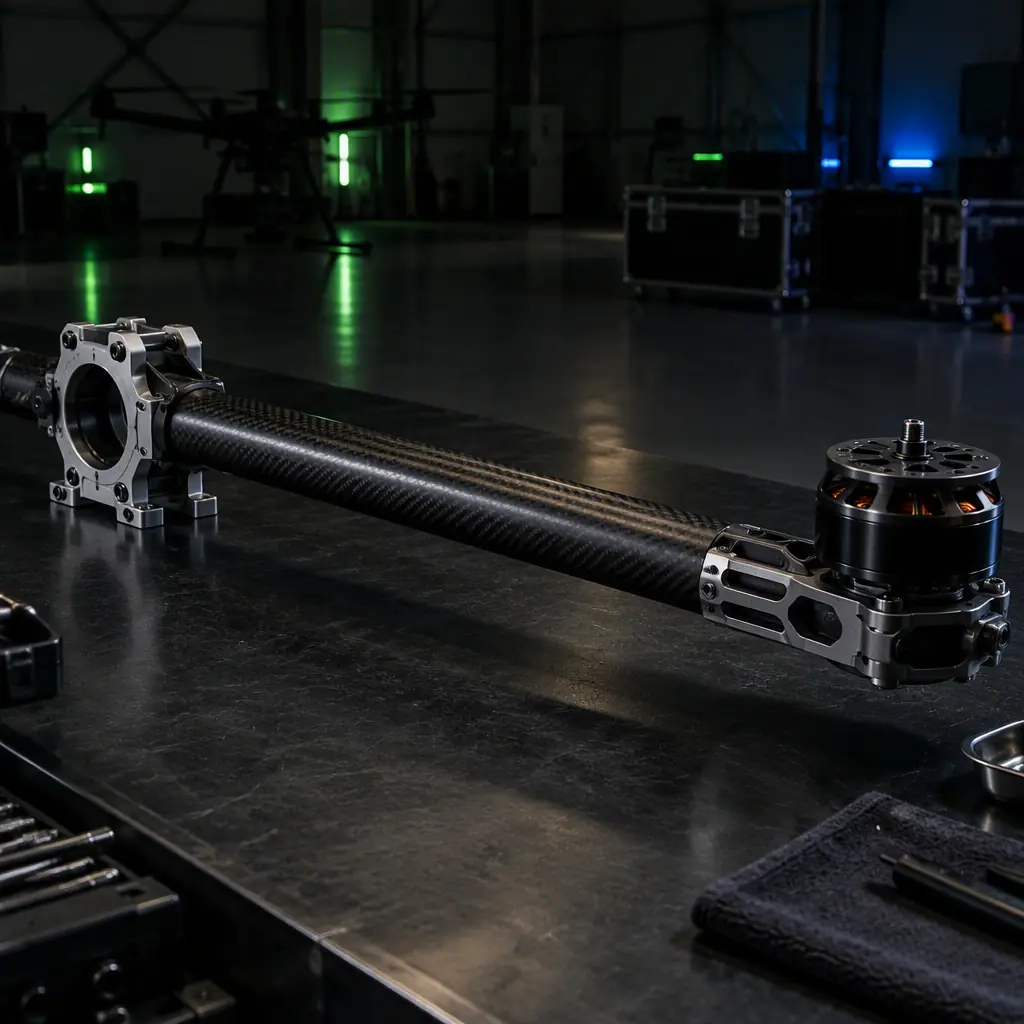 Boom, saddle clamp and motor mount
For booms that see torsion, such as those carrying a gimbal or a rotating payload, the layup must include plus-or-minus 45-degree plies. A purely axial tube twisted under load warps and loses pointing accuracy, and no amount of diameter fixes it; the fibres simply have nothing to shear against. The vibration isolation guide explains how the resulting boom motion propagates into payload pointing error.
Tube-to-frame joints: inserts, bonding and the load path
The joint between a boom and the airframe centre plate is where the boom's stiffness either transfers into the structure or terminates in a soft, creeping connection. There are three common joint families, and each has a characteristic failure.
- External saddle clamps. The boom sits in a machined saddle and is pinched by two or more bolts. Cheap, reusable and adjustability-friendly, this is the default on folding arms. Its weakness is clamp pressure and slip: under repeated landing shock the boom creeps in the saddle and the arm angle drifts. Verifying the joint means specifying bolt preload and checking arm-angle repeatability after a hundred landing cycles.
- Internal inserts. A machined aluminium or titanium insert is bonded inside the tube bore and bolts through the frame, so the load path is axial inside the tube rather than clamping around its outside. This is the strongest joint per gram and the one used on heavy-lift arms. Its failure mode is bond-line shear: an unbonded or partially bonded insert pulls straight out under tensile load. Specifying insert pull-out strength, not just insert material, is what makes this joint trustworthy.
- Bonded sleeves and scarf joints. A tube is telescoped into a larger sleeve or scarfed and bonded for continuous booms and wing spars. The joint can approach parent-material strength but is permanent and sensitive to bond-line thickness and surface preparation. Grit-blast and solvent-wipe preparation, plus a controlled adhesive gap, are process requirements that belong in the purchase order, not assumptions.
Whichever family is used, the load path question is the same: does the joint carry the bending moment in tension and compression through the tube wall, or does it rely on friction? Friction-based joints creep and lose preload; bonded and bolted-through joints do not, provided the bond or the insert is specified by strength. The assembly tooling and fixtures guide covers the jigs that make these joints repeatable in production.
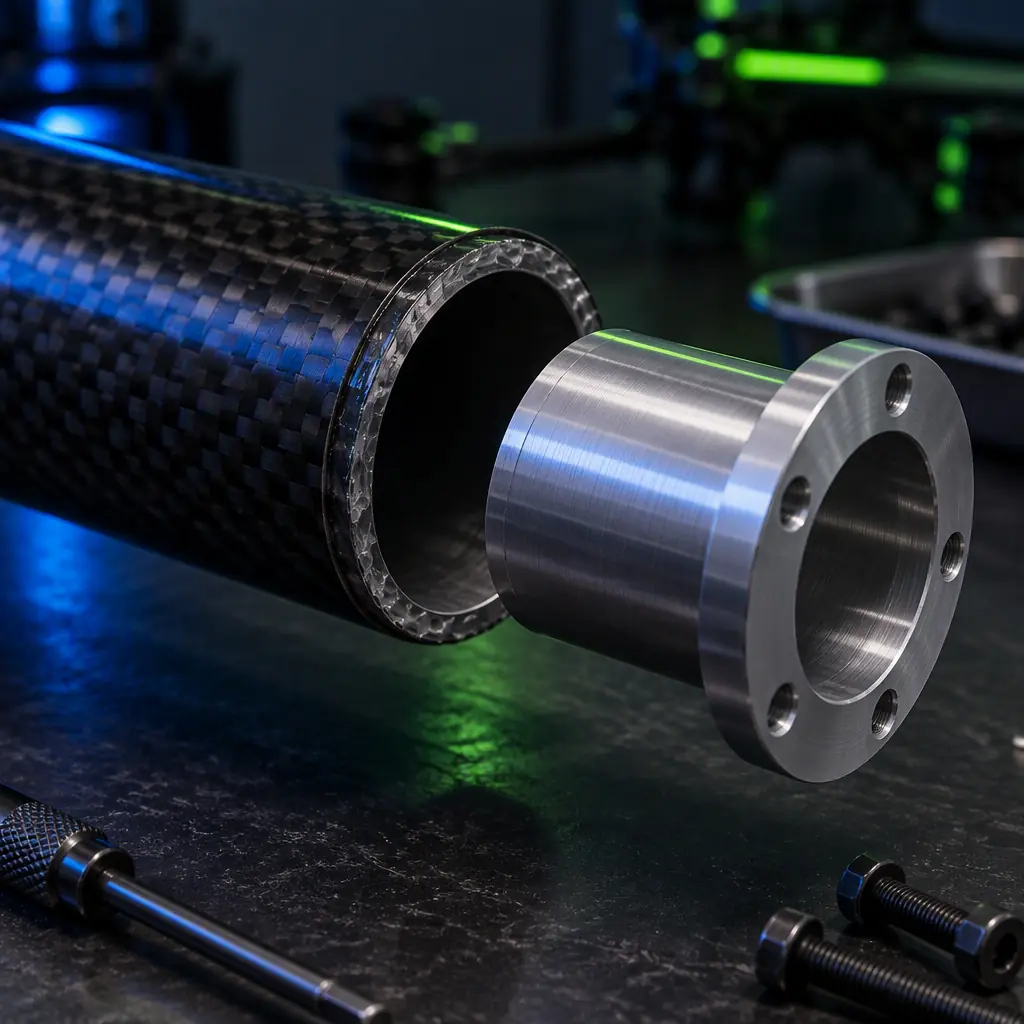 Bonded insert joint
Verifying a boom before it flies
A boom specification is only as good as the test that proves it. Three checks separate a tube that works from a tube that merely looks right, and all three are cheap enough to require from a supplier.
Static stiffness and deflection test. Load the assembled boom at the tip with the design thrust and inertial load, measure tip deflection and compare it to the predicted value. A boom that deflects more than the analysis predicted has a joint problem, not a tube problem, and finding that on the bench is far cheaper than in flight. Record deflection against load and check linearity: a joint that creeps shows as a curve that never returns to zero.
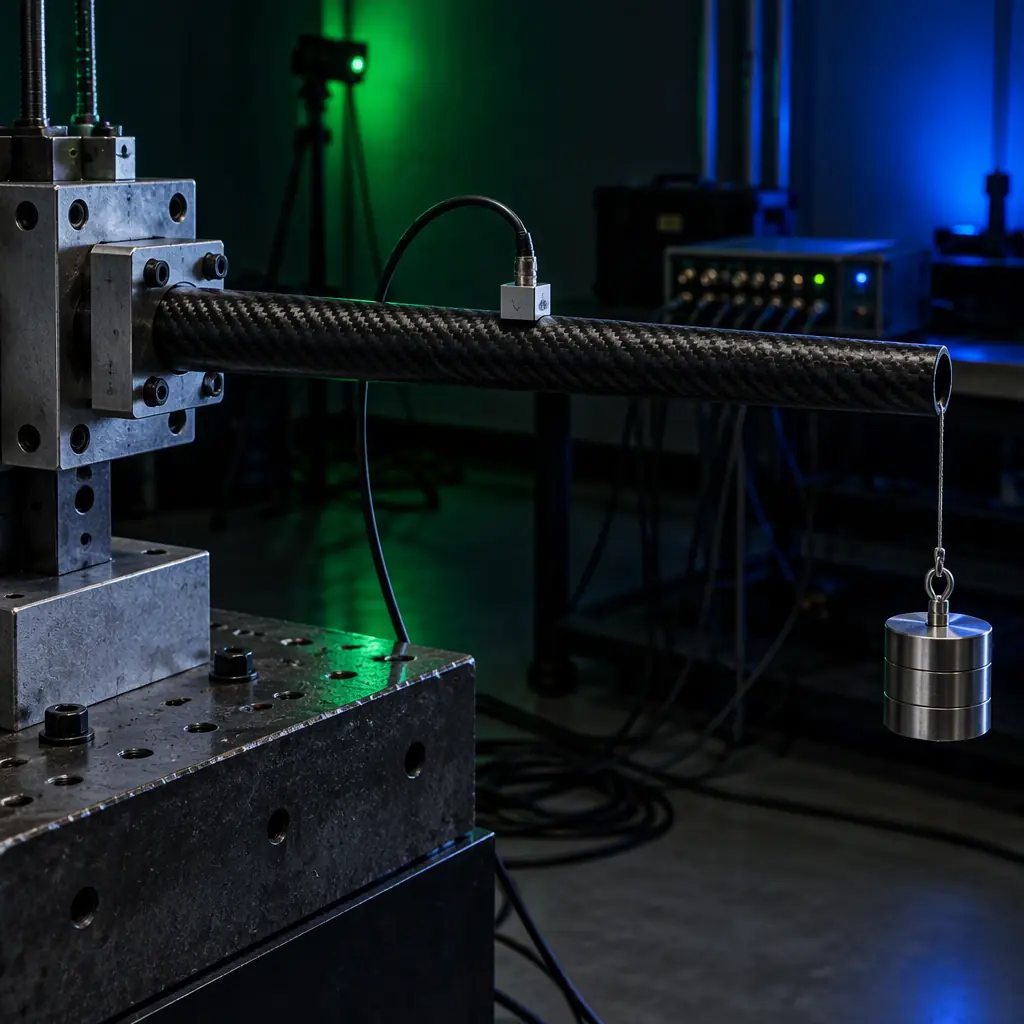 Deflection and modal test rig
Modal and vibration test. Mount the loaded boom, excite it and measure the first bending mode with an accelerometer. The measurement confirms the mode target used in sizing. If the measured mode sits inside the rotor band, the boom needs more diameter and the design cycle repeats before anything is built. The propeller balancing and vibration guide covers the excitation-side reduction that halves the problem.
Joint strength and cycle test. Pull the insert or clamp to its specified proof load, then cycle the joint through the landing-shock and thrust-cycle envelope and re-measure slip and preload. A joint that passes the proof load but loosens over 500 cycles is a maintenance liability. The environmental qualification testing guide extends this to temperature and humidity, which swell and plasticise the resin and change bond-line behaviour.
Ask for the raw deflection-versus-load and mode data with the shipment, not a summary sheet. A supplier who measured a boom can produce the curve; one who did not will send a compliance sentence.
Cost, lead time and the buy decision
Carbon fiber tube is a commodity in pultruded form and an engineered part in roll-wrapped form, and the commercial terms reflect that split. Pultruded tube in common diameters ships from stock with lead times measured in days, and the cost is driven almost entirely by diameter and wall. Roll-wrapped custom layups carry tooling or mandrel costs and lead times of two to six weeks depending on cure route and layup complexity, which is why a first article should be ordered as a prototype quantity before committing to a production volume.
Where cost pressure bites is at the joint. Bonded inserts, machined clamps and saddle hardware often exceed the cost of the tube itself, so a design that selects a cheaper pultruded tube but then adds heavy hardware to protect it from clamp crush frequently costs more than a roll-wrapped tube with a low-part-count integral joint. The total-cost comparison should always be made on the assembled boom, not the tube alone, which is the same discipline the build-versus-buy analysis applies to subsystems.
Finally, tolerances belong in the order. Outside diameter runout, wall uniformity, straightness and cut-length tolerance all affect how a boom fits a clamp or seats in a frame. A straightness specification of 0.5 mm per 500 mm is a normal aerospace-grade requirement for a boom and costs little to hold; leaving straightness unspecified is how a set of arms arrives with mismatched tracking angles.
Procurement checklist: what to put in the RFQ
Six data points convert a boom order from a stock-diameter guess into a specification the supplier can design against.
- 1. Load case and tip load. The mass at the boom tip, the design g-load and the thrust the arm carries, with the unsupported length between the frame joint and the tip. This is the input to every stiffness calculation and the single most useful number you can send.
- 2. Stiffness or mode target. Either a minimum bending stiffness in newton-metres squared or, more practically, a minimum first bending mode in hertz for the loaded boom. Given this, a supplier can size diameter and wall rather than quoting a stock tube.
- 3. Construction and layup. Pultruded stock or a specified roll-wrapped layup with hoop and off-axis plies where clamps and torsion demand them. State whether the tube is purely a boom or also a torsional member.
- 4. Joint type and insert strength. Saddle clamp, bonded insert or bonded sleeve, with insert pull-out strength and clamp length specified. Include bolt size and preload if the frame interface is fixed.
- 5. Environmental range. Operating temperature, UV exposure and humidity, and whether the tube sees chemical or salt exposure. Resin systems and finishes differ, and a boom that works in a desert may embrittle in a cold maritime environment.
- 6. Test data required. Deflection-versus-load, measured first mode, joint proof and cycle data, straightness and dimensional report. Verification: the raw test records, delivered with the shipment.
The decision, in one line: choose pultruded for light axial booms and roll-wrapped where torsion or clamp crush governs, size the tube by bending stiffness and mode target rather than wall thickness, design the joint before the tube, and demand the deflection and mode data in the RFQ. EMS Drone supplies carbon fiber tubes, machined inserts, clamps and bonded-joint assemblies, and runs the stiffness and modal testing that proves a boom before it flies. Send the tip load, the unsupported length and the mode target, and we will respond with the tube specification, the joint design and the test plan.
Cost structure: where a boom budget actually goes.
The tube is usually the cheapest line on a boom assembly and the one buyers negotiate hardest. The table breaks down where the money in a finished, flying boom actually sits, and which line is most often underestimated in a first quotation.
| Cost item | Order of magnitude | Driver |
|---|---|---|
| Tube stock | Low single digits % of the assembly | Construction (pultruded vs roll-wrapped), fibre grade, diameter |
| End inserts and bond prep | Moderate | Aluminium vs composite inserts, machined tolerances, surface prep |
| Jig and alignment tooling | High on small runs | One-time NRE, amortised by volume |
| Bonding and cure labour | Moderate | Controlled-temp cure, bond-line thickness, rework rate |
| Verification (stiffness + proof load) | Moderate | Whether each boom is tested or sampled |
| Handling, protective packaging, freight | Low but persistent | Boom length drives volumetric freight on every shipment |
The most under-estimated line is the jig and alignment tooling, and the second is verification. Buyers compare tube price per metre and then discover the finished boom is two to three times that once inserts, bonding and proof testing are counted. Ask for the tooling NRE as a separate line so the crossover between a small run and a production run is visible rather than hidden in a blended unit price.
Responsibility split: tube supplier and airframe integrator.
A boom is a joint product: the tube supplier owns the stock and the bond, the integrator owns the loads and the installation. Clear splits prevent the classic dispute where a failure is blamed on the tube when the cause is a clamp that was over-torqued at assembly. The table is the split we put in the requirement document.
| Item | Tube supplier | Airframe integrator |
|---|---|---|
| As-supplied stiffness (EI) and mass | Guaranteed, with a traceable value per batch | Verify against the design value on receipt |
| Insert bond integrity | Proven by proof-load on each boom or documented sampling | Do not re-machine or heat the bonded joint |
| Clamp torque and interface geometry | Publish the recommended torque and clamp band width | Enforce it; over-torque crushes the tube |
| Load case definition | Quote to the stated tip load and unsupported length | Supply the real load case, not a nominal one |
| In-service inspection | Publish acceptance criteria and repair limits | Perform the interval checks and log them |
| Design change to the bonded joint or layup | Re-qualify the joint and re-issue the stiffness value | Re-verify the airframe mode if the stiffness changes |
The last row is the one worth spelling out in writing. A layup or insert change that looks like a minor manufacturing improvement changes the boom stiffness, and a changed boom stiffness moves the airframe's first bending mode. If your flight controller was tuned to the old mode, an "equivalent" tube can put the mode back into the control band. The clause should state that any change to layup or bonded joint triggers a re-issued stiffness value and a re-check of the airframe mode separation.
Two booms we built, and what their numbers mean for yours.
Boom selection is easiest to reason about against a real build. These two came from our project work and both turn on the same trade: stiffness per unit mass, set by diameter and layup rather than by wall thickness.
- Heavy-lift agricultural platform. A 1,600 mm coaxial octocopter carrying a 30 L spray load needs boom arms stiff enough to keep the prop disc flat under a full tank. The arms are carbon tube at Ø30 mm with CNC aluminium motor mounts; the diameter buys the stiffness and the layup keeps the mass down so the 25 kg MTOW still closes. The relevant number for a buyer: the arms set the attitude response, so a boom that is adequate empty can feel soft at full payload. The full build is written up at our heavy-lift agriculture platform.
- VTOL LiDAR mapping platform. A 120 min-endurance VTOL fixed wing carries a 5 kg sensor pod on a belly mount. Here the booms are wing and tail members rather than rotor arms, and the constraint is aeroelastic: the members must hold the first bending mode clear of the flight-control band across the whole speed range. The build is documented at our LiDAR mapping platform, including the mass and drag penalty of the belly pod.
Both cases point the same way: specify the mode target and the unsupported length, let the supplier size diameter and layup, and treat wall thickness as an output rather than an input.
Boom clauses to write into the requirement document.
The numbers above convert into a short list of clauses that make a boom order testable rather than aspirational.
- State the tip load, the unsupported length and the target first bending mode; let the supplier size diameter and layup.
- Require a traceable as-built stiffness (EI) value per batch, not a nominal datasheet figure.
- Specify the clamp band width and the maximum torque; forbid over-torque and prohibit re-machining or heating the bonded joint.
- Require proof-load or documented sampling on the insert bond, with the sampling plan named in the order.
- Define the acceptance criterion for boom straightness and twist, since both feed directly into the achieved mode.
- Require re-issued stiffness and a mode re-check after any change to layup or bonded joint.
- Name the in-service inspection interval and the repair limits in the same document, so the field team inherits the criteria the design was verified against.
Send the tip load, the unsupported length and the mode target and we will return the tube specification with the stiffness value and the proof-load plan attached.
Where booms fail in service, and which joint the failure comes from.
Every boom we have taken back for root-cause analysis failed at a joint or at a clamp, never in the middle of the tube. The tube itself is the most predictable part of the assembly: once the diameter and layup are fixed, its stiffness is a manufacturing variable with a narrow spread. What varies is the interface, because the interface is where two processes meet the tolerances of a third. The table ranks the failure modes by share of boom returns and names the interface each one comes from, so a buyer can reduce a long reliability discussion to two questions about specific drawings.
| Failure mode | Share of boom returns | Bench behaviour vs field behaviour | Interface it comes from |
|---|---|---|---|
| Insert pull-out or bond-line creep | ~30% | Proof load passes cold and dry; the joint drifts after thermal cycling under sustained thrust load | Insert-to-tube bond (surface prep, bond-line thickness, adhesive choice) |
| Clamp crush or ovalisation | ~22% | Torque wrench reads correct; the tube has yielded locally because band width was specified too narrow | Clamp-to-tube interface (band width, torque, saddle radius) |
| Hole bearing failure at the mount | ~18% | Static pull-off passes; the hole elongates over landing cycles and preload collapses | Mount-to-boom interface (edge distance, hole fit, bolt preload) |
| Tip deflection above the assumed value | ~15% | Stiffness value honoured on a coupon; the assembled boom is softer because of joint compliance | Any joint (the compliance is the sum, not the tube) |
| First bending mode inside the rotor band | ~10% | Mode measured on a free-free tube; installed booms with mass at the tip shift the mode down | Boom-to-frame fixation (constraint stiffness, tip mass) |
| Delamination under the clamp | ~5% | Not visible at inspection; first indication is a stiffness change at the next check | Clamp pressure concentration on a roll-wrapped surface |
The top two rows account for roughly half of the returns, and both live at the two ends of the tube. That is the whole argument for designing the joint before sizing the tube: a boom order that fixes tube dimensions and leaves joint geometry to the integrator has pushed the majority of its reliability risk into the one part of the assembly nobody specified.
Two questions follow directly, and both are answerable before an order is placed. First, ask which insert system the supplier proposes and how the bond is proof loaded per batch rather than per design. Second, ask for the minimum clamp band width at the specified torque, because that single number decides whether the tube can be crushed by a technician with a torque wrench. A supplier who answers both in numbers has already thought about the interfaces; one who answers in adjectives has not.
Lead time, tooling amortisation and when the design window closes.
Boom quotations are frequently compared on unit price alone, which makes a five-unit prototype and a three-hundred-unit production order look like the same purchase at different scales. They are not. Tooling and first-article work sit almost entirely in the first units, so the unit price falls steeply across the first two order bands and then flattens. Comparing a prototype price against a production price compares how much tooling you paid for, not how well either boom was engineered.
| Order band | Tooling and first-article share of unit price | Typical lead time | What changes at this volume |
|---|---|---|---|
| 1 to 5 units | Dominant, often over half | 4 to 8 weeks | Every unit is effectively a first article; design changes are still cheap to absorb |
| 6 to 25 units | Moderate | 5 to 9 weeks | Bonding jig and drill fixtures are amortised; the layup schedule is frozen in practice |
| 26 to 100 units | Minor | 6 to 10 weeks | Dedicated curing and alignment tooling is justified; change-over cost becomes the constraint |
| 100 to 500 units | Negligible | 8 to 12 weeks | Unit price is driven by material and labour; engineering change now requires re-qualification |
| 500 units and above | Absent | 10 to 14 weeks or scheduled | Volume is booked as capacity; the design is effectively closed for the programme's life |
The practical consequence is a closing window rather than a rising cost. Every step down that table freezes something: at the first band the layup is still negotiable, at the second the jig is paid for and changes mean new tooling, and from the third onward a stiffness change is a re-qualification event rather than an engineering decision. Teams that intend to iterate on the airframe should order the prototype band deliberately, not as a formality before the production order.
Ask for tooling and first-article cost as a separate line in the quotation rather than blended into a unit price. Separated, the crossover between a small run and a production run is visible, and the point at which a design change stops being cheap is a number on the page instead of a surprise three months later. A configured quotation should show that split explicitly; a quotation that cannot show it is not comparable with one that can.
What to re-check in service, at which interval.
A boom is a fatigue item with a bonded joint, and both parts of that description decay on a schedule. The inspection interval is therefore not a maintenance preference but a design output: it follows from the load spectrum the boom was sized for. The table gives the ladder we specify, with the acceptance criterion at each step and the action that a failure triggers. The interval column is in flight cycles rather than calendar time, because a boom flown twice a week ages on use, not on age.
| Interval | Check | Acceptance criterion | Action on failure |
|---|---|---|---|
| Every flight (pre-flight) | Visual sweep of both ends, clamp witness mark, torque stripe intact | No fretting dust, no witness-mark movement, stripe continuous | Ground the aircraft; do not re-torque and fly |
| 25 cycles | Clamp torque verification and insert witness-mark check | Torque within the stated band; no relative movement at the mark | Re-torque once to specification, re-mark, and shorten the next interval |
| 100 cycles | Tip deflection re-measurement at a known load | Within 5% of the as-built value recorded at acceptance | Investigate the joint before the next flight; a softer boom means a compromised bond |
| 250 cycles | Modal check: first bending mode re-identification | Mode within 5% of the as-built value and clear of the rotor band | Retire the boom if the mode has moved into the control band; this is the early warning step |
| 500 cycles | Proof load on a sample of the fleet, plus bond-line inspection | No permanent set, no disbond indication | Retire the fleet set and revisit the sizing basis with the supplier |
The 250-cycle modal check is the step that carries the value, and it only works if the as-built number exists. A deflection figure and a measured mode recorded at acceptance cost minutes; without them the 100 and 250 cycle rows have nothing to compare against, and the inspection ladder degenerates into a visual check that cannot see a bond-line creep. Write the recording requirement into the order, together with the interval: a boom delivered with a stiffness curve and a measured mode is a boom that can be maintained to a criterion, and one delivered with a compliance sentence is not.
The verification and record-keeping behind those numbers is part of our production process, described under quality and test records. The point for a buyer is narrower: ask for the as-built deflection and mode values as deliverable data, because they are the only baseline against which every later re-check is judged.
What the buyer should witness at boom acceptance.
Acceptance is where a boom specification either becomes testable or stays aspirational. The matrix below is the set of checks we run per boom, with the method and the record produced. The column that matters commercially is the last one: several of these rows cannot be sampled, because a sampled value says nothing about the individual boom that will carry the payload. Those are exactly the rows a supplier under schedule pressure will propose converting into a pass or fail statement.
| Acceptance check | Method | Record produced | Can it be sampled |
|---|---|---|---|
| Tube dimensional check (diameter, wall, straightness) | Measured against the drawing with a calibrated gauge | Dimensional report per batch | Yes, per batch with a stated plan |
| As-built stiffness (EI) and tip deflection | Loaded deflection test at the design tip load | Deflection versus load curve per boom | No: this is the baseline for every later re-check |
| Insert bond proof load | Proof load to the specified value, held and released | Proof-load record with the value reached | Yes only if the sampling plan is named in the order |
| Clamp torque and witness marking | Calibrated torque wrench to the specified band, then marked | Torque log with the wrench calibration date | No: unrecorded torque is unverifiable torque |
| First bending mode | Modal identification with the boom installed or in the test fixture | Measured mode value and the test configuration | No on the first article; per batch thereafter is acceptable |
| Mass and centre of gravity | Weighed and balanced as assembled | Per-unit mass and CG position | No: these feed the flight controller tuning |
The pattern across those rows is that the sampleable items are the ones describing the material and the non-sampleable items are the ones describing the finished assembly. A batch certificate covering tube dimensions tells a buyer what went into the booms; only per-unit records of stiffness, torque, mode and mass tell them what came out. An acceptance procedure built entirely on batch certificates looks rigorous and verifies almost nothing about the unit being shipped.
Bring the witness list to the acceptance discussion rather than accepting the one presented. If a supplier cannot accommodate the four non-sampleable rows, that is a decision worth knowing about before the purchase order, not after the first re-check comes back without a baseline. We can run this matrix against your boom drawing as part of an engineering intake through the engineering enquiry route.
Explore airframe capability Back to Blog
EMS Drone manufactures airframe structures and boom assemblies under one roof, from tube sourcing through bonded-joint production and modal test. If you are specifying a boom, see the custom engineering service and the tolerances we hold.
Continue Reading
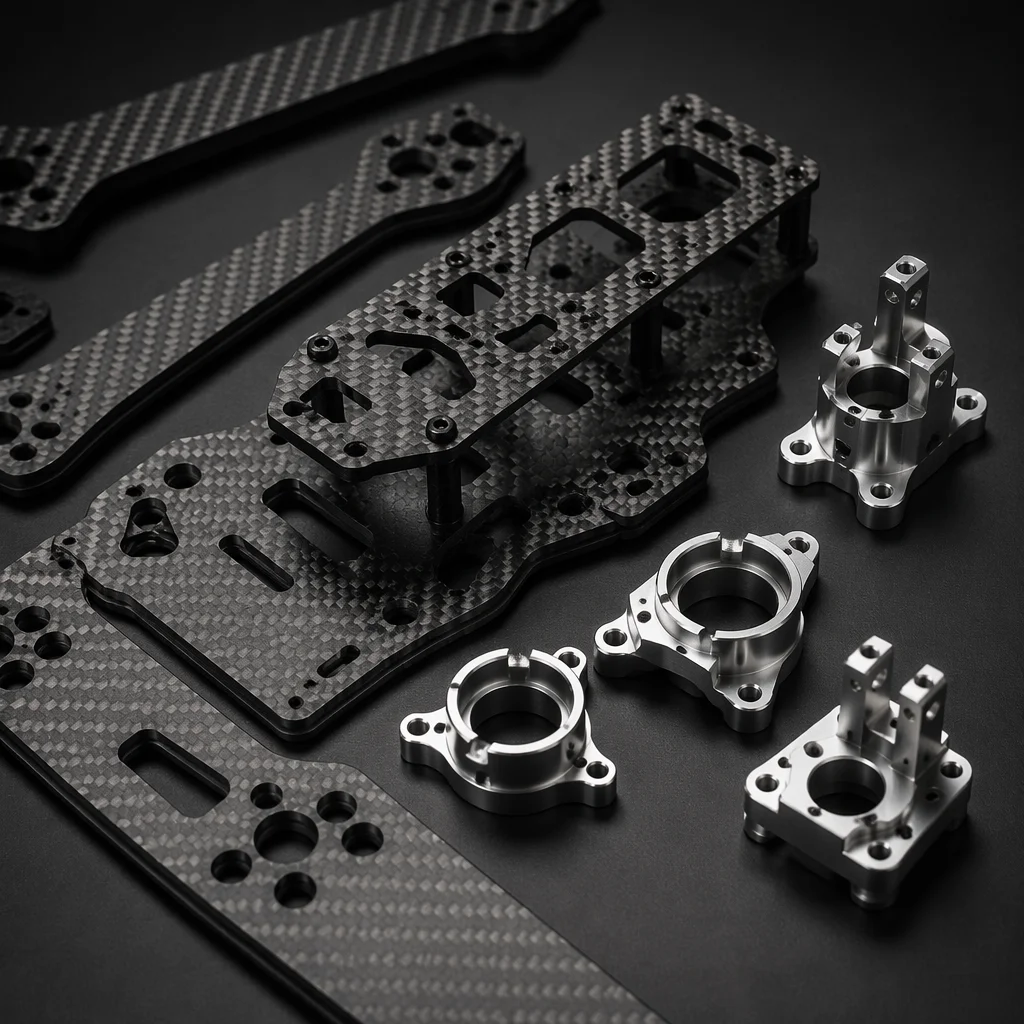
UAV Airframe Materials Guide
Which material family to choose before you pick a tube: carbon, aluminium, G10 and the trade-offs between them.
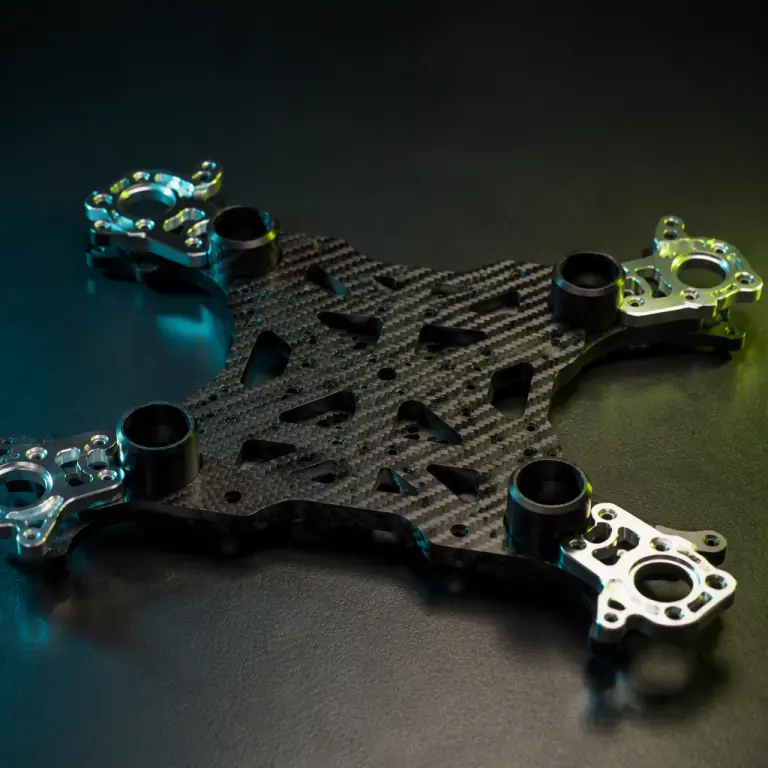
UAV Airframe Structural Design
Stiffness, modes and load paths, the analysis that turns a boom choice into a verified structure.
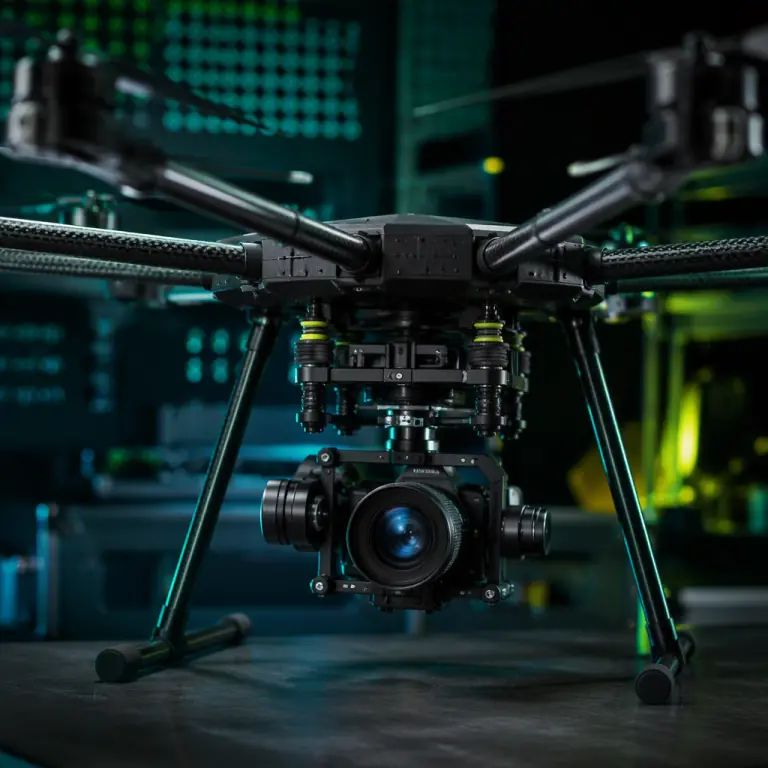
UAV Vibration Isolation
Mounts that protect payloads from the boom and motor vibration a stiffer structure cannot remove.
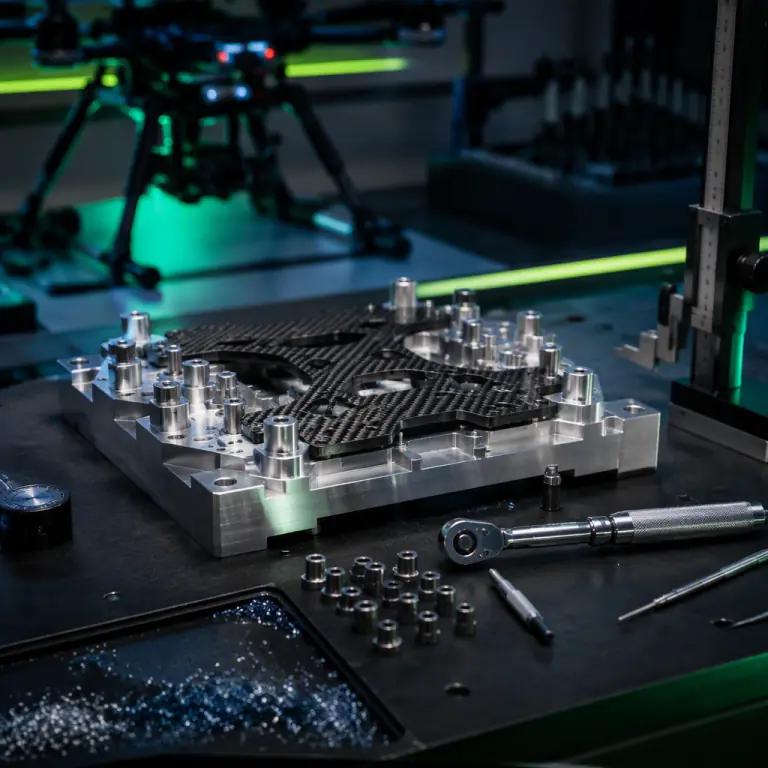
UAV Assembly Tooling and Fixtures
The jigs that make bonded tube joints and arm geometry repeatable across a production run.
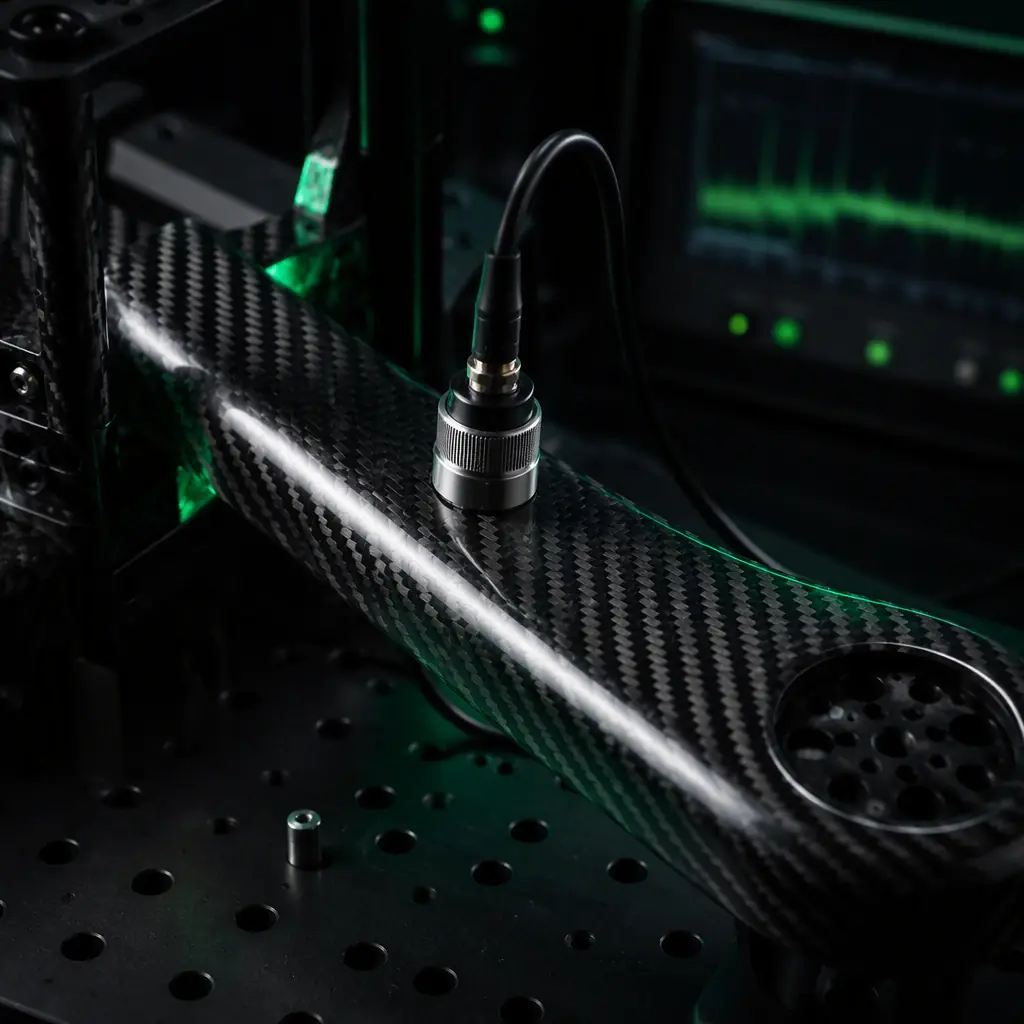
UAV Composite NDT Inspection
Ultrasonic, tap-test and X-ray methods that find voids and disbonds inside a tube or bonded joint.